
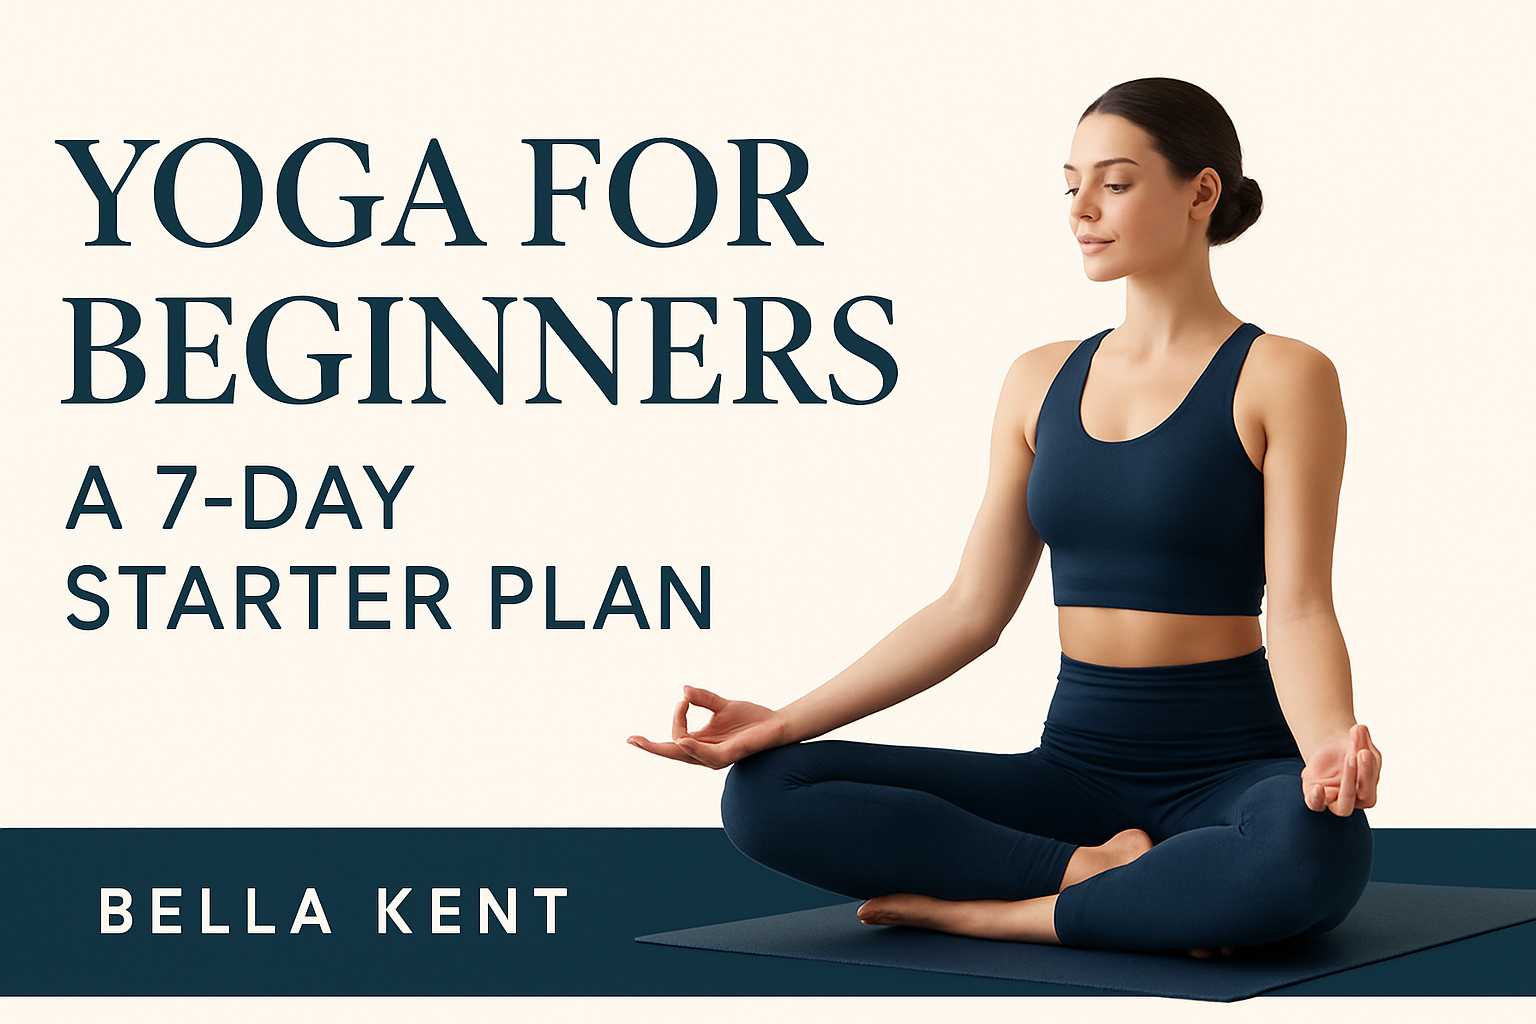
- A 7-day beginner yoga plan builds foundational breath, alignment, and gentle strength through short, approachable daily sessions.
- Each day adds a specific focus (breath, core stability, morning routine, spine health, upper and lower body work) culminating in an integrated, relaxed flow on Day 7.
- Emphasis on safe modifications, mindful breathing, and consistency over intensity, with practical tips for setup, progression, and tracking progress.
- Foundational breathing techniques
- Gentle, safe movements suitable for beginners
- A simple routine you can repeat or adapt
- Use a comfortable mat, a water bottle, and wear breathable clothing
- Warm up before each session and listen to your body
- Focus on consistency over intensity and log how you feel after each practice
- Neck circles, small and smooth
- Seated cat cow for gentle spine flexion
- Grounding twists to loosen the torso
- Cat-Cow warm-up
- Chair Pose with a brief hip hinge
- Gentle forward fold to release the back of the legs
- Seated twist for spinal mobility
- Plank variations with knee support or elevated hands for gentler loading
- Bridge pose to awaken the glutes and support the lumbar spine
- Bird dog to train coordinated limb movement while maintaining a stable spine
- Standing pelvic tilts to refine pelvic alignment during daily tasks
- Breath-centered warm-up: 2 minutes
- Modified plank sequence: 4-6 minutes, with steady breath and brief resets
- Bridge and Bird dog flow: 6 minutes, alternating sides
- Standing stability work: 4 minutes, pelvis level throughout
- Short cooldown with pelvic tilts and a gentle forward fold: 4 minutes
- Gentle cat cow to wake the spine and encourage mobility
- Standing side stretches to open the ribs and lengthen the torso
- Low lunge with a gentle twist to activate the hips and engage the core
- Mountain pose to establish alignment, then a shortened, accessible flow
- Modified forward fold with a half lift to ease spinal flexion
- Finish in a relaxed standing pose to reset the nervous system before moving on
- Keep sessions to 15-20 minutes to build habit without pressure
- Prepare a tidy area with a mat and water nearby
- Link the practice to another daily habit if mornings feel rushed
- Cat-cow variations with a softer range
- Pelvic tilts to awaken the lower back and abdomen
- Seated lateral bends to stretch the sides of the torso
- Seated or supine twists with a slow tempo
- Twisting variations in lunge or chair pose for support
- Gentle spinal extensions to balance flexion
- Dynamic warmup with 4 minutes of breath-guided movement
- Twist and mobility block for 8 minutes
- Spinal strengthening and a final stretch for 6 minutes
- 2 minutes of guided relaxation
- Rotate the upper arms slightly inward to reduce shoulder crowding
- Keep elbows soft and shoulder blades integrated along the back
- Ground through the forearms to reduce neck tension
- From high plank, lower knees while maintaining a straight line
- Use a half plank with the knees lifted or a forearm version to ease load
- Incorporate elevated hands on a sturdy block or chair to reduce depth
- Start with 2-3 sets of 6-8 controlled reps for upper-body poses
- Increase time under tension with short holds rather than pulsing
- Use light props like a strap or blocks to maintain form
- Chair pose with a shallow bend to protect the knees
- Supported lunge variations to engage glutes and quads
- Bridge pose or reclined leg lifts for hamstrings and hip engagement
- Slow sun salutations with controlled breath
- Accessible standing poses for balance and stability
- Gentle seated stretches to unwind the spine
- Yoga mat: non-slip surface
- Water bottle within reach
- Optional: yoga blocks or a strap for support
- Schedule 15-20 minute sessions on most days
- Rest days help with recovery and integration
- Keep sessions approachable to sustain momentum
- Elevate hands on blocks or a chair to reduce intensity
- Keep knees bent or use wall support to protect joints
- Swap to gentler variations when needed and revisit deeper options later
- Extend three sessions to 25-30 minutes to explore longer flows with a timer for transitions.
- Pick a weekly focus, such as hip openness or thoracic mobility, to balance the week and prevent compensations.
- Incorporate 1-2 guided videos from reputable instructors to vary cues and refine form, then compare notes with your routine.
- Maintain a simple practice log to track how you feel, range of motion, and any stiffness for targeted tweaks.
- Schedule short sessions at the same time daily to reinforce habit and reduce decision fatigue.
- Prepare your mat, water, and a towel the night before for smooth starts and transitions.
- Adjust as needed and celebrate small wins, like steadier breath or longer holds, to stay encouraged.
Table of Contents
Introduction
Why a 7-day plan works for beginners
You don’t need to overhaul your life to start yoga. A focused, one-week plan gives you a clear path with achievable milestones. Short, daily sessions help you build consistency without overwhelming you.
By breaking the practice into bite-sized steps, you can learn fundamentals, observe how your body responds, and adjust your routine as you go. It’s a practical way to turn curiosity into a regular habit.
What you’ll gain by the end of the week
Expect improved flexibility, enhanced core stability, and a calmer mind. You’ll learn to connect breath with movement, support better posture, and experience more energy for daily tasks.
How to use this guide safely and effectively
Treat each day as a new opportunity, not a test. Move at your own pace and modify poses if needed.
1. Day 1: Foundations of Breath and Gentle Movement
Breath awareness basics
You’ll begin by noticing your breathing rhythm. Sit comfortably, close your eyes, and place a hand on your belly. Inhale through the nose, allowing the abdomen to rise. Exhale fully and softly. This simple check helps you stay present during movement.
Let breath guide your movement. When tension arises, return to a calm, steady inhale and exhale. This practice supports balance and focus as you explore poses.
count 4 counts for the inhale and 4 counts for the exhale to set a manageable pace. If the belly breath feels unfamiliar at first, placing a small pillow on the abdomen can help you sense the rise and fall more clearly.
Simple warm-up and foundational poses
Start with gentle joint rotations to wake the spine, shoulders, and hips. Move slowly and keep your movements connected to your breath.
Foundational poses establish alignment and safety. Maintain a soft gaze and a relaxed jaw to preserve ease in the body.
keep shoulders relaxed away from the ears and root your sit bones into the ground to feel stable as you move through each interval.
Short, beginner-friendly sequence
This sequence blends breath with movement in a calm, accessible flow to build confidence. Move at a pace that feels natural, pausing as needed to reset the breath.
End with a moment of stillness, observing how the breath supports ease in each pose.
Expert tip: pause for a 2-count after each transition to check alignment and reestablish comfortable breathing before the next move, a technique Bella Kent instructors often recommend.
2. Day 2: Building Core Stability
Engaging the core safely
Your core includes more than the visible six-pack. It comprises the deep muscles around the spine that support posture and balance. Start with gentle activation to protect your back. Imagine drawing the lower belly in and up as you exhale, while keeping the ribcage steady.
Use controlled exhales to deepen engagement, then ease back in with a relaxed inhale. If the lower back tilts or tensions arise, ease off and maintain neutral alignment. Gradual consistency builds lasting stability, and you can track progress with a simple self-check: hands on hips, pelvis level, ribs quiet.
Poses to support posture and balance
Guided 20-minute routine
Begin with breath centering for 2 minutes, then move through controlled holds and steady transitions. Maintain a tempo that respects your current range of motion.
3. Day 3: Morning Yoga Routine
Energizing sequence to start the day
A bright start sets the tone for your day. This short sequence wakes the body, boosts circulation, and primes the nervous system for function. Keep movements deliberate and in sync with your breath to maintain ease.
Sun salutations basics
Sun salutations build warmth and rhythm without overwhelming beginners. Prioritize smooth transitions and even breath tempo. Modify steps to protect shoulders and hips, using shorter sets if needed.
Tips for morning practice consistency
Morning routines work best when simple and reliable. Create a small, distraction-free space and use a cue that you can repeat daily.
4. Day 4: Spine Health and Flexibility
Teeing up mobility for the back
Today emphasizes gentle movements that wake the spine without strain. Begin with breath-aware warmups to prime the nervous system and protect alignment as you explore mobility. Small, controlled motions beat large, rushed shifts.
Gentle twists and spinal strengthening
Twists release stiffness while building stability through the spine. Use a light hand position and a mindful exhale to deepen the twist safely. Keep the spine long and the neck relaxed.
Balanced 20-minute practice
Structure supports consistency. Move through a sequence that alternates mobility, stability, and relaxation. End with a brief mindfulness moment to integrate the work.
5. Day 5: Upper Body and Posture
Shoulder openness and arm alignment
Today’s focus is on creating space in the shoulders and aligning the arms with the torso. Proper placement protects the joints and supports an upright spine. Keep movements small, controlled, and mindful rather than chasing depth.
Modified chaturanga and supportive variations
Chaturanga can challenge shoulder integrity. Use safer progressions that build strength without compromising form. These options allow you to grow with consistency.
Safe progression for strength
Build strength by prioritizing quality reps over sheer volume. Focus on control, breath, and alignment to prevent strain.
6. Day 6: Lower Body Strength and Mobility
Hip stability and knee alignment
Apply knee tracking to everyday movements like stairs, squats, and walking. Keep the knee aligned over the toes and the hips active without forcing range. Gentle activation done consistently builds a reliable foundation for daily activities.
Accessible leg-strengthening poses
Choose poses that target the major leg muscles while protecting the joints. Move slowly with small ranges to maintain alignment. Props such as a block or strap help you sustain form and progress safely.
Compact 20-minute flow
Keep the sequence concise and efficient. Alternate strengthening segments with brief mobility blocks to stay warm and preserve range. End with a short hip and thigh stretch to release tension and improve circulation.
| Segment | Duration | Focus |
|---|---|---|
| Warm-up | 4 minutes | Breath, gentle hip openers |
| Strength Block | 8 minutes | Leg engagement, knee tracking |
| Mobility Block | 5 minutes | Hip openers, ankle mobility |
| Cool-down | 3 minutes | Stretch, mindful breathing |
7. Day 7: Integration and Relaxation
Linking breath with movement
Day 7 weaves together what you’ve practiced. Move with the breath through each transition, letting inhales rise and exhales soften the shape. A calm, mindful flow helps you finish with a sense of cohesion.
A complete beginner-friendly flow
This sequence balances light strength, balance, and mobility in a simple, approachable practice. Maintain a comfortable pace and adjust depth or tempo as needed. The aim here is consistency and ease.
Guided relaxation and mindfulness tips
End with a brief, quiet pause to absorb the work. Soften the gaze or close the eyes and observe sensations without judgment. A simple breathing count anchors your attention to the present moment.
FAQ
What equipment do I need?
You can start with minimal gear. A comfortable mat, a water bottle, and loose, breathable clothing are enough for Day 1. As you progress, blocks or straps can help with alignment and accessibility. Bella Kent recommends testing a basic setup first before expanding your kit.
How often should I practice for best results?
Consistency beats intensity. Aim for 4 to 5 short sessions per week, each 15 to 20 minutes. Regular practice builds flexibility, strength, and calm over time. Use a habit cue like a fixed time after coffee or before dinner.
How to modify poses for limitations?
Use safe alternatives that maintain alignment. Small adjustments can keep you moving without strain. Focus on comfort, not depth. Note any numbness or sharp pain and back off immediately.
When to seek professional guidance?
Consider expert help if you experience persistent pain, recent injury, or medical conditions affecting movement. A qualified instructor or healthcare professional can tailor a plan to your needs. Bella Kent also offers personalized assessment resources to align practice with your goals.
Conclusion
Recap of the week’s progress
By week’s end, you’ve established breath, alignment, and mindful movement as habits. Each day added a practical layer, from basic balance to gentle strength, at a pace that respects your body.
You may notice calmer breathing, heightened body awareness, and steadiness in daily tasks. The core idea remains consistent effort over intensity, building a foundation you can reuse without gear or a gym.